Introduction to sending emails
Communicating with startups, applicants, and event attendees is a core part of managing a successful program. The Email feature in AcceleratorApp allows you to send personalized, trackable messages directly from the platform. Whether you are reaching out to a single founder or bulk-emailing a specific cohort, this tool ensures your outreach is efficient and professional.
By using integrated templates and personalization variables, you can automate repetitive tasks while maintaining a personal touch. Additionally, each sent emails is trackable, allowing you to monitor deliverability and engagement directly within the user’s profile.
Note: Emails sent from the platform can be subject to monthly limits based on your pricing plan. You can track your current usage by navigating to General Settings > Current Plan.
Where to Find Email Tools
AcceleratorApp offers several primary locations to initiate communication, whether in bulk or individually:
Bulk Sending:
- Startup Portfolio: Ideal for reaching out to active startups, users, or specific programs/tags.
- Events Management: Used to communicate with targeted, registered, attending, or "no-show" guests of a specific event.

- Application Overview: Best for mass communication with candidates within an application funnel.
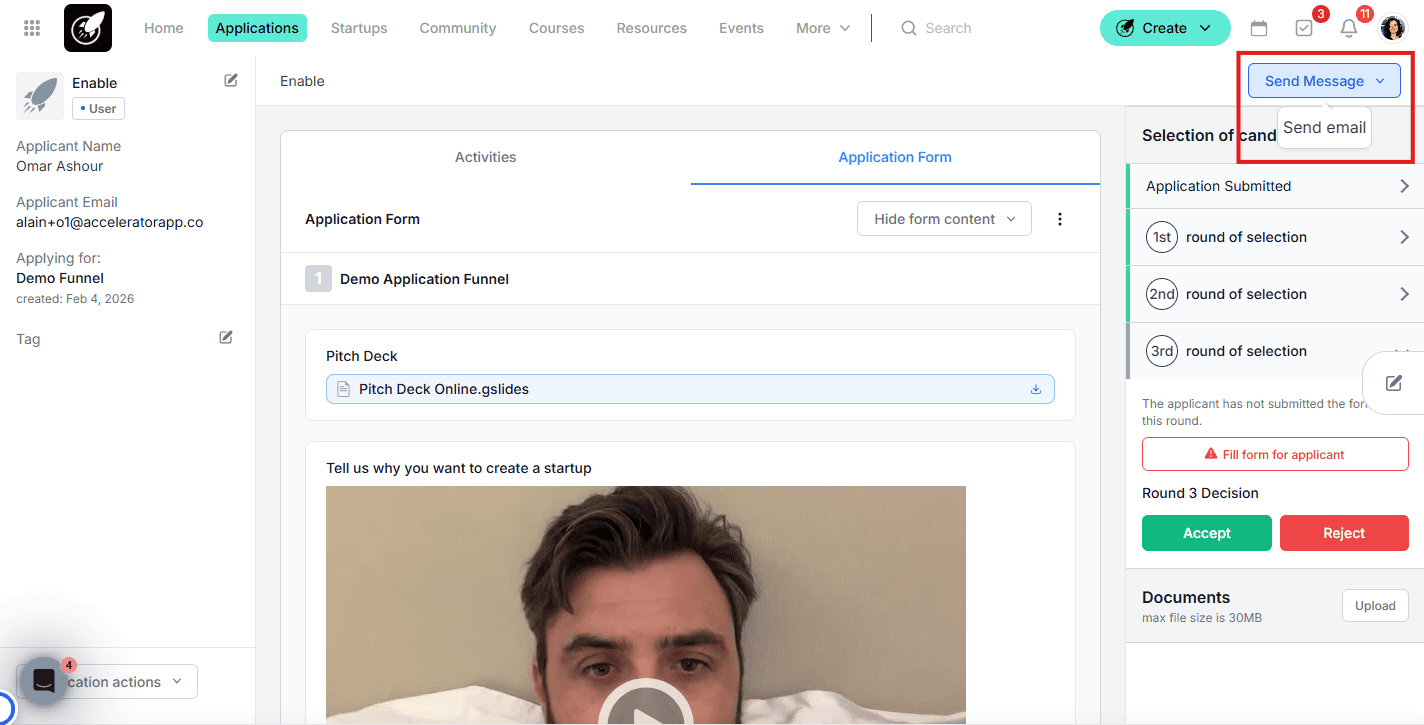
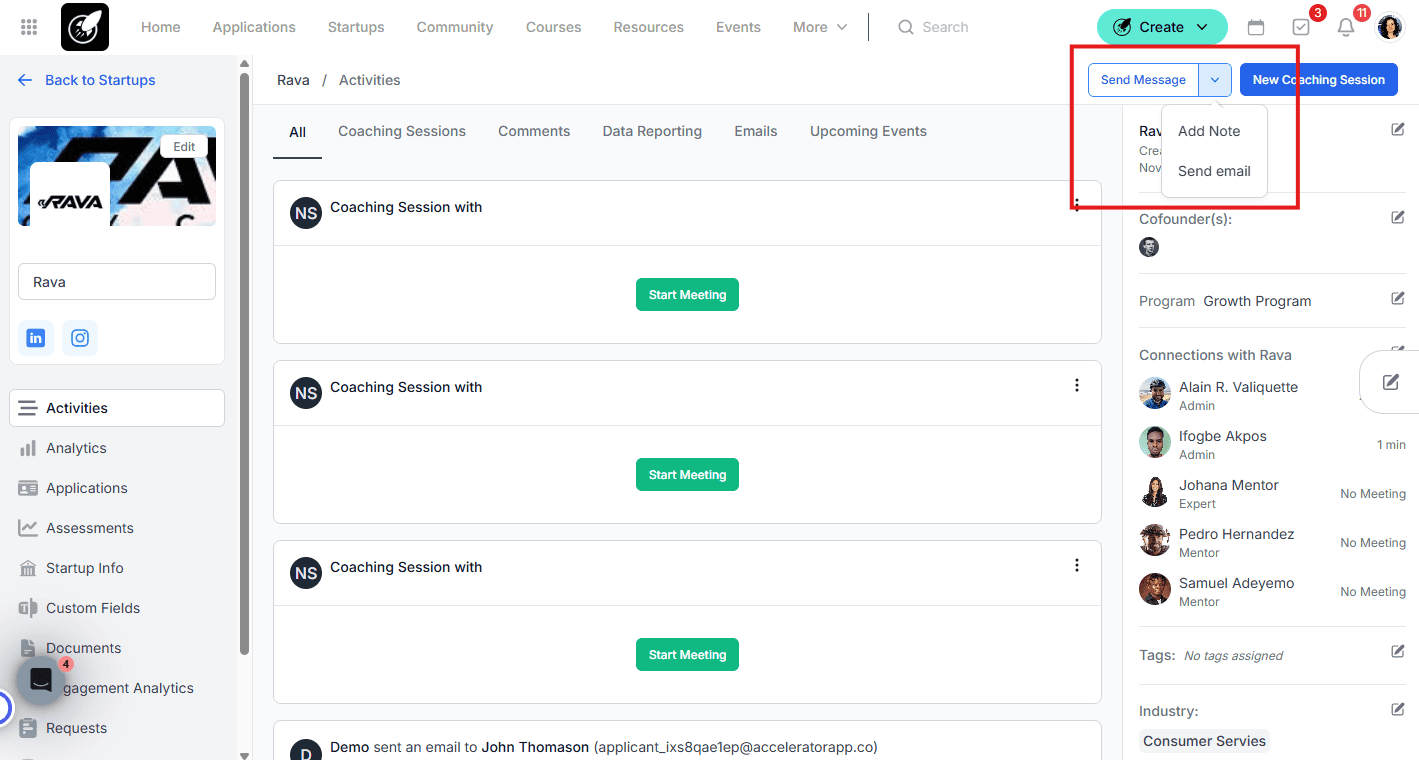
Individual Sending:
- Applicant or Startup File: You can send a direct, personalized email to a specific person by opening their individual file.
- Requests: Used to email all targeted users, or specifically those who have or haven't completed a request.
Step-by-Step
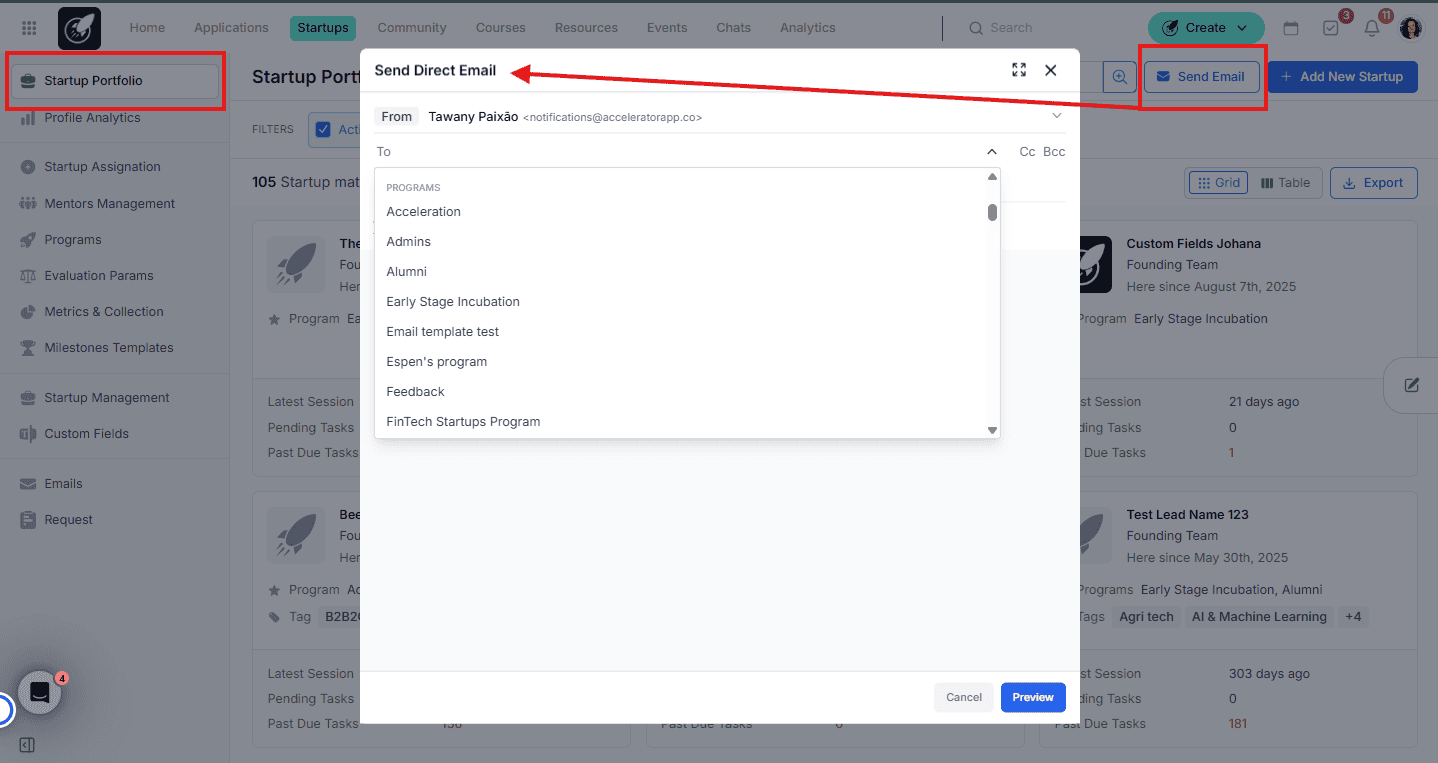
1. Sending Emails from the Startup Portfolio
- Navigate to the Startup tab in the top menu to access your portfolio.
- Select the startups or users or programs or tags you wish to contact and click the Send Email button.
2. Configuring the Email Details
From: Select the sender address. You can choose your own user email or the default notifications@acceleratorapp.co.
Note: If a recipient replies to the default notification address, the reply is forwarded to the email set in your General Settings.To/CC/BCC: Add individual recipients.
Personalization & Templates: Use the Variables dropdown to add placeholders like {{first_name}}. If you have a saved template, click Templates to load it, or save your current draft as a new template for future use.
Subject & Body: Enter your content, ensuring your subject line is clear and professional.
3. Previewing and Tracking
Click Preview to review how the variables will appear to the recipient.
Click Send to deliver the message.
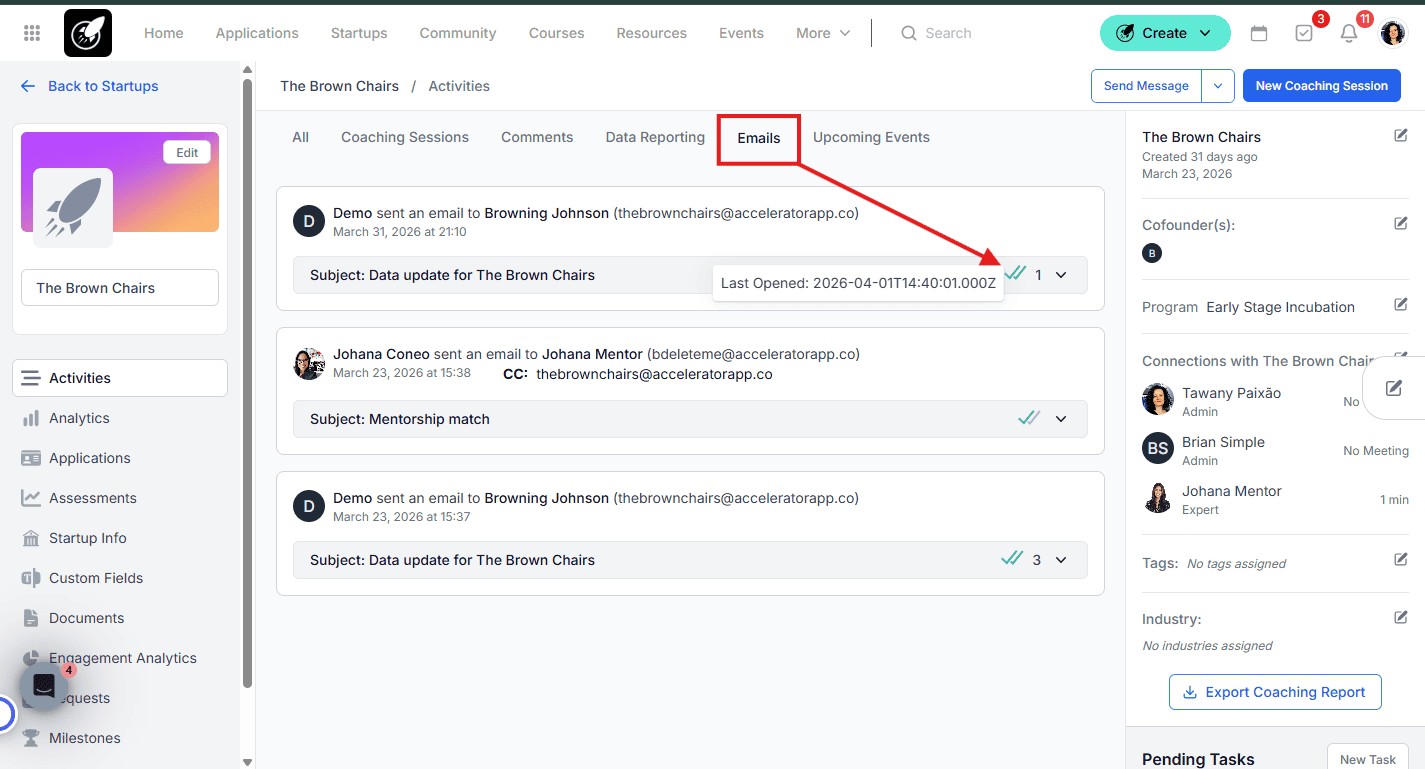
To track results, open a Startup File and locate the email in their history to see if it was delivered or opened.
4. Sending Emails from Events
Navigate to a published event and go to the Overview tab.
Click the Send Email button.
Choose your target audience: Targeted, registered, attended or no show users. Preview and send.
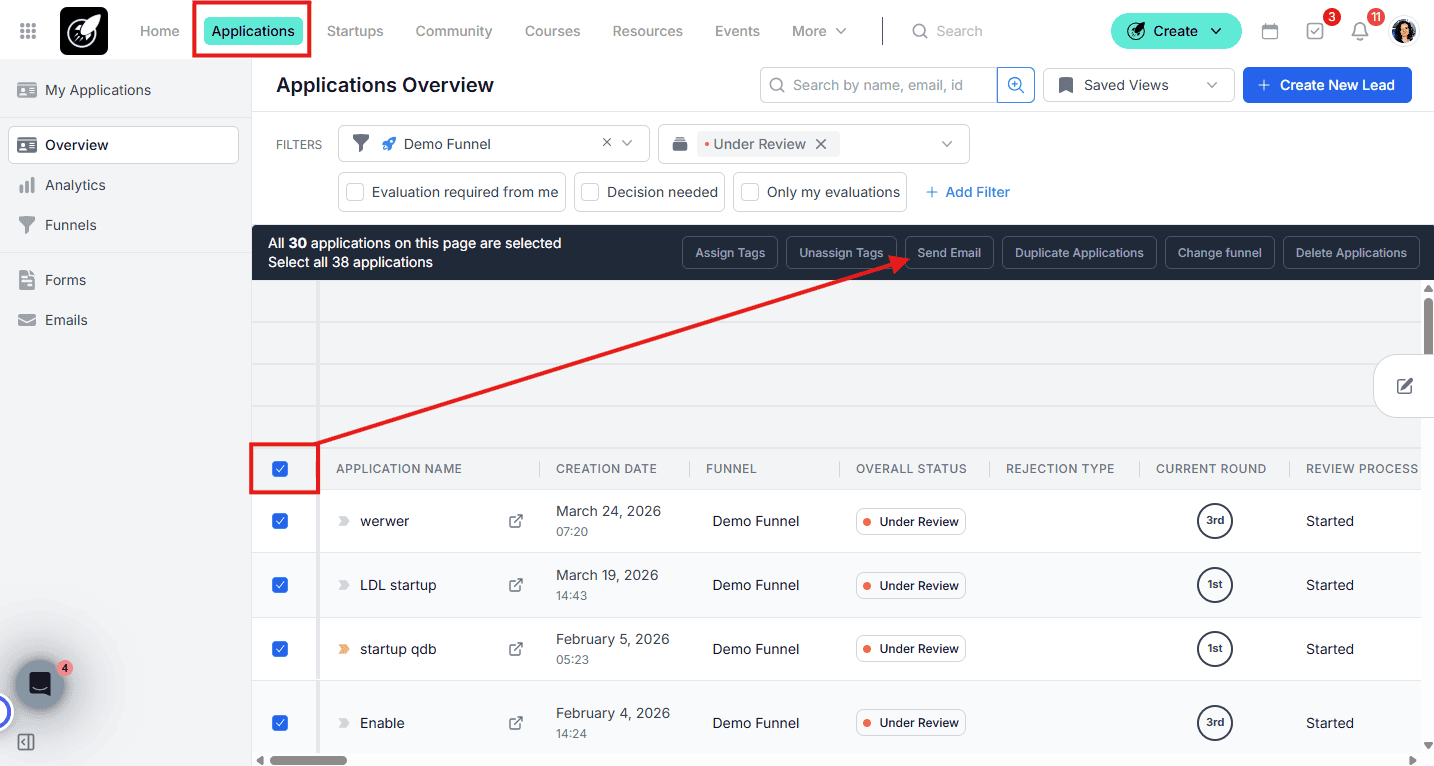
5. Bulk Emails from the Application Overview
Navigate to the Application Overview and select your funnel. Make sure to select a status (submited, under review,...)
Select the checkboxes for the desired recipients.
In the Bulk Actions banner at the top, click Send Email.
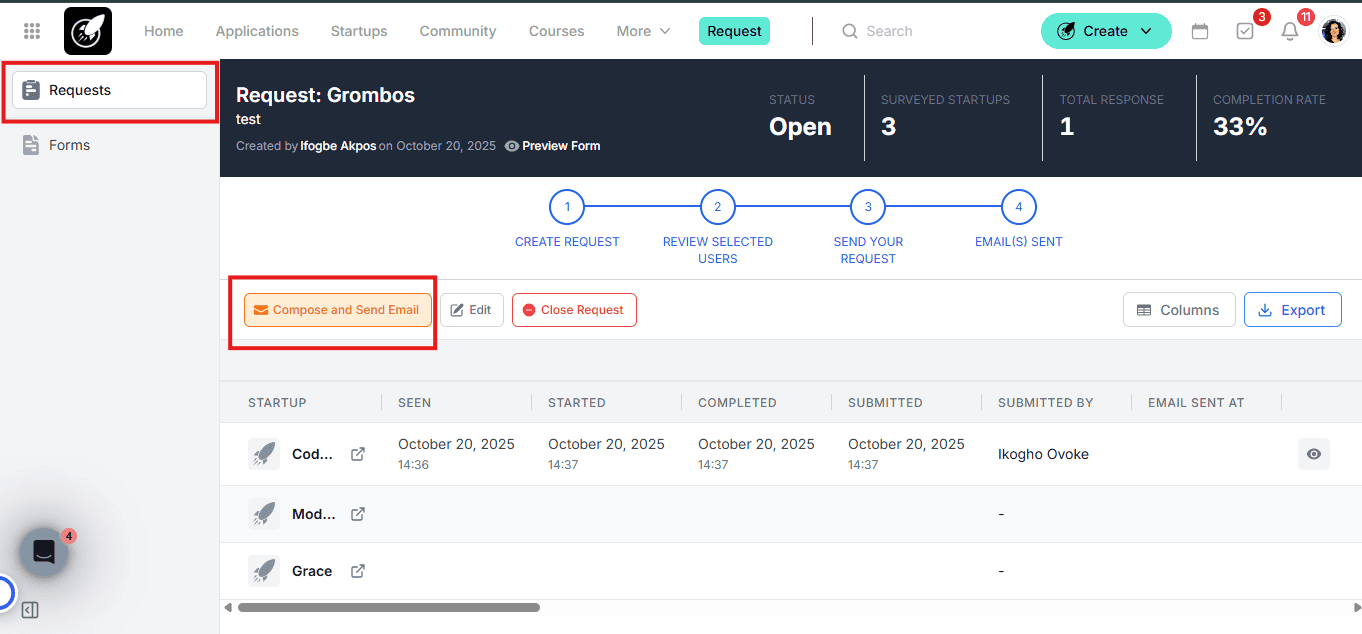
6. Sending Emails via the Requests Feature
Navigate to the Requests management page.
Select a specific request to see the list of targeted users.
Click Send Email to follow up with users (e.g., sending a reminder to those who haven't finished their submission or next steps to the ones who already submited it.).
Best Practices
- Use Variables Wisely: Always use {{first_name}} to increase engagement. A personalized subject line significantly improves open rates.
- Centralize Replies: If you want replies to go to a general "Info" or "Support" inbox, ensure that address is correctly configured in your platform's General Settings.
- Create templates to reuse them consistently.