Introduction to Custom Domain
A Custom Domain allows you to use your own web address (e.g., portal.yourprogram.com) instead of the default platform URL. This is a key step in providing a white-label experience for your startups and mentors.
Where to Configure Your Custom Domain
The domain configuration is found within your organizational administrative settings.
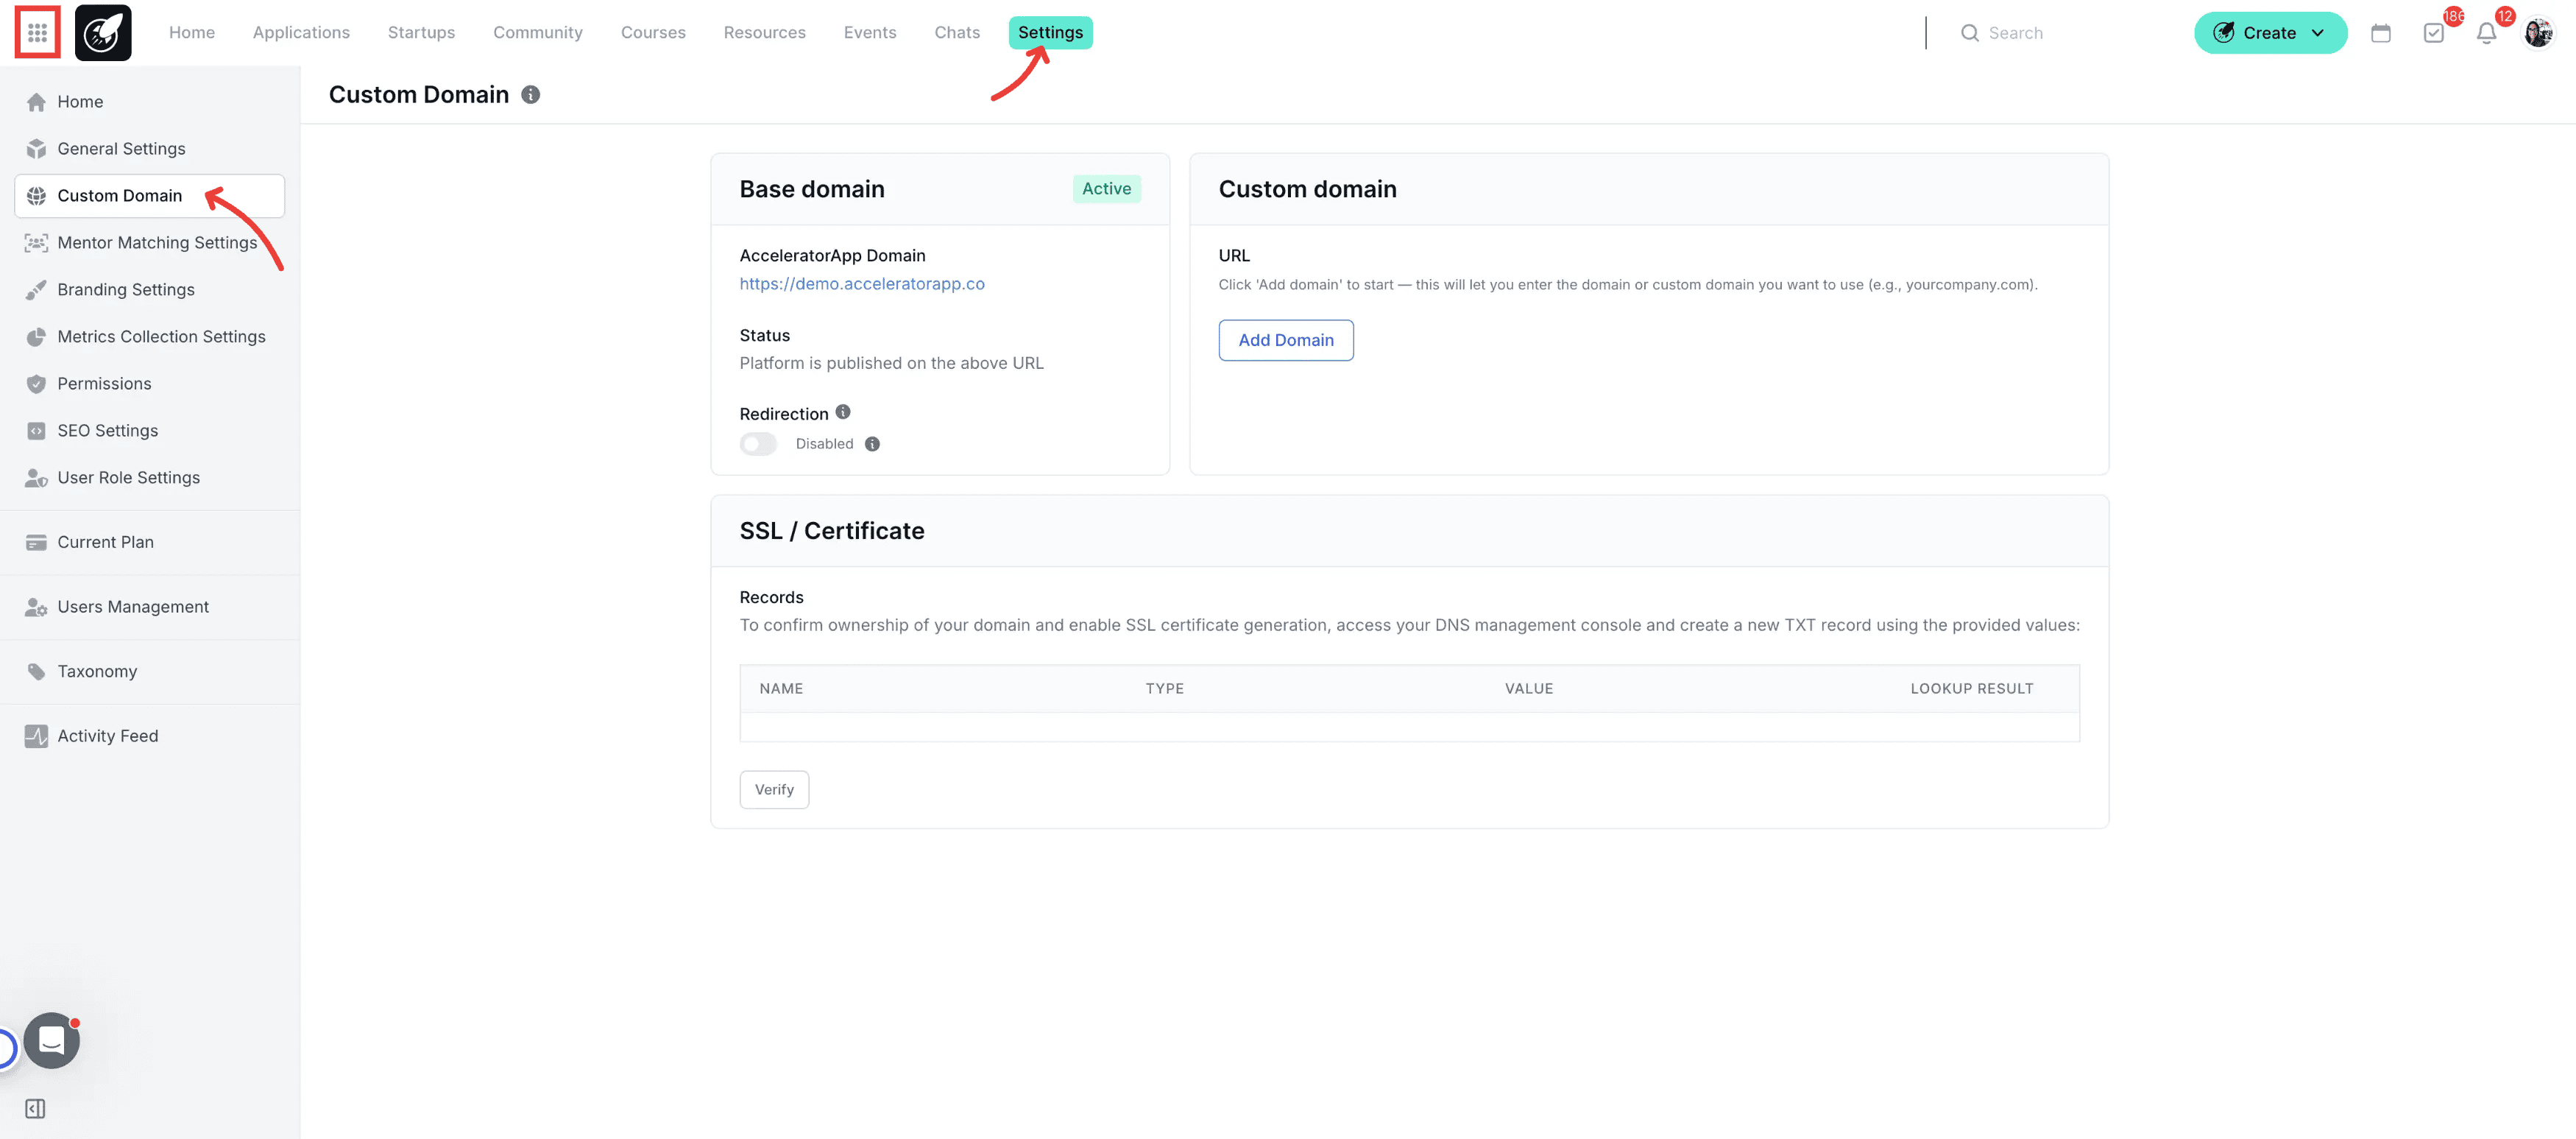
Navigation: Click on the Menu icon in the sidebar, select General Settings, and then click on the Custom Domain tab.
Step-by-Step
- Access Settings: Click on the Menu icon and navigate to General Settings.
- Open the Custom Domain Tab: Click on Custom Domain from the top sub-menu.
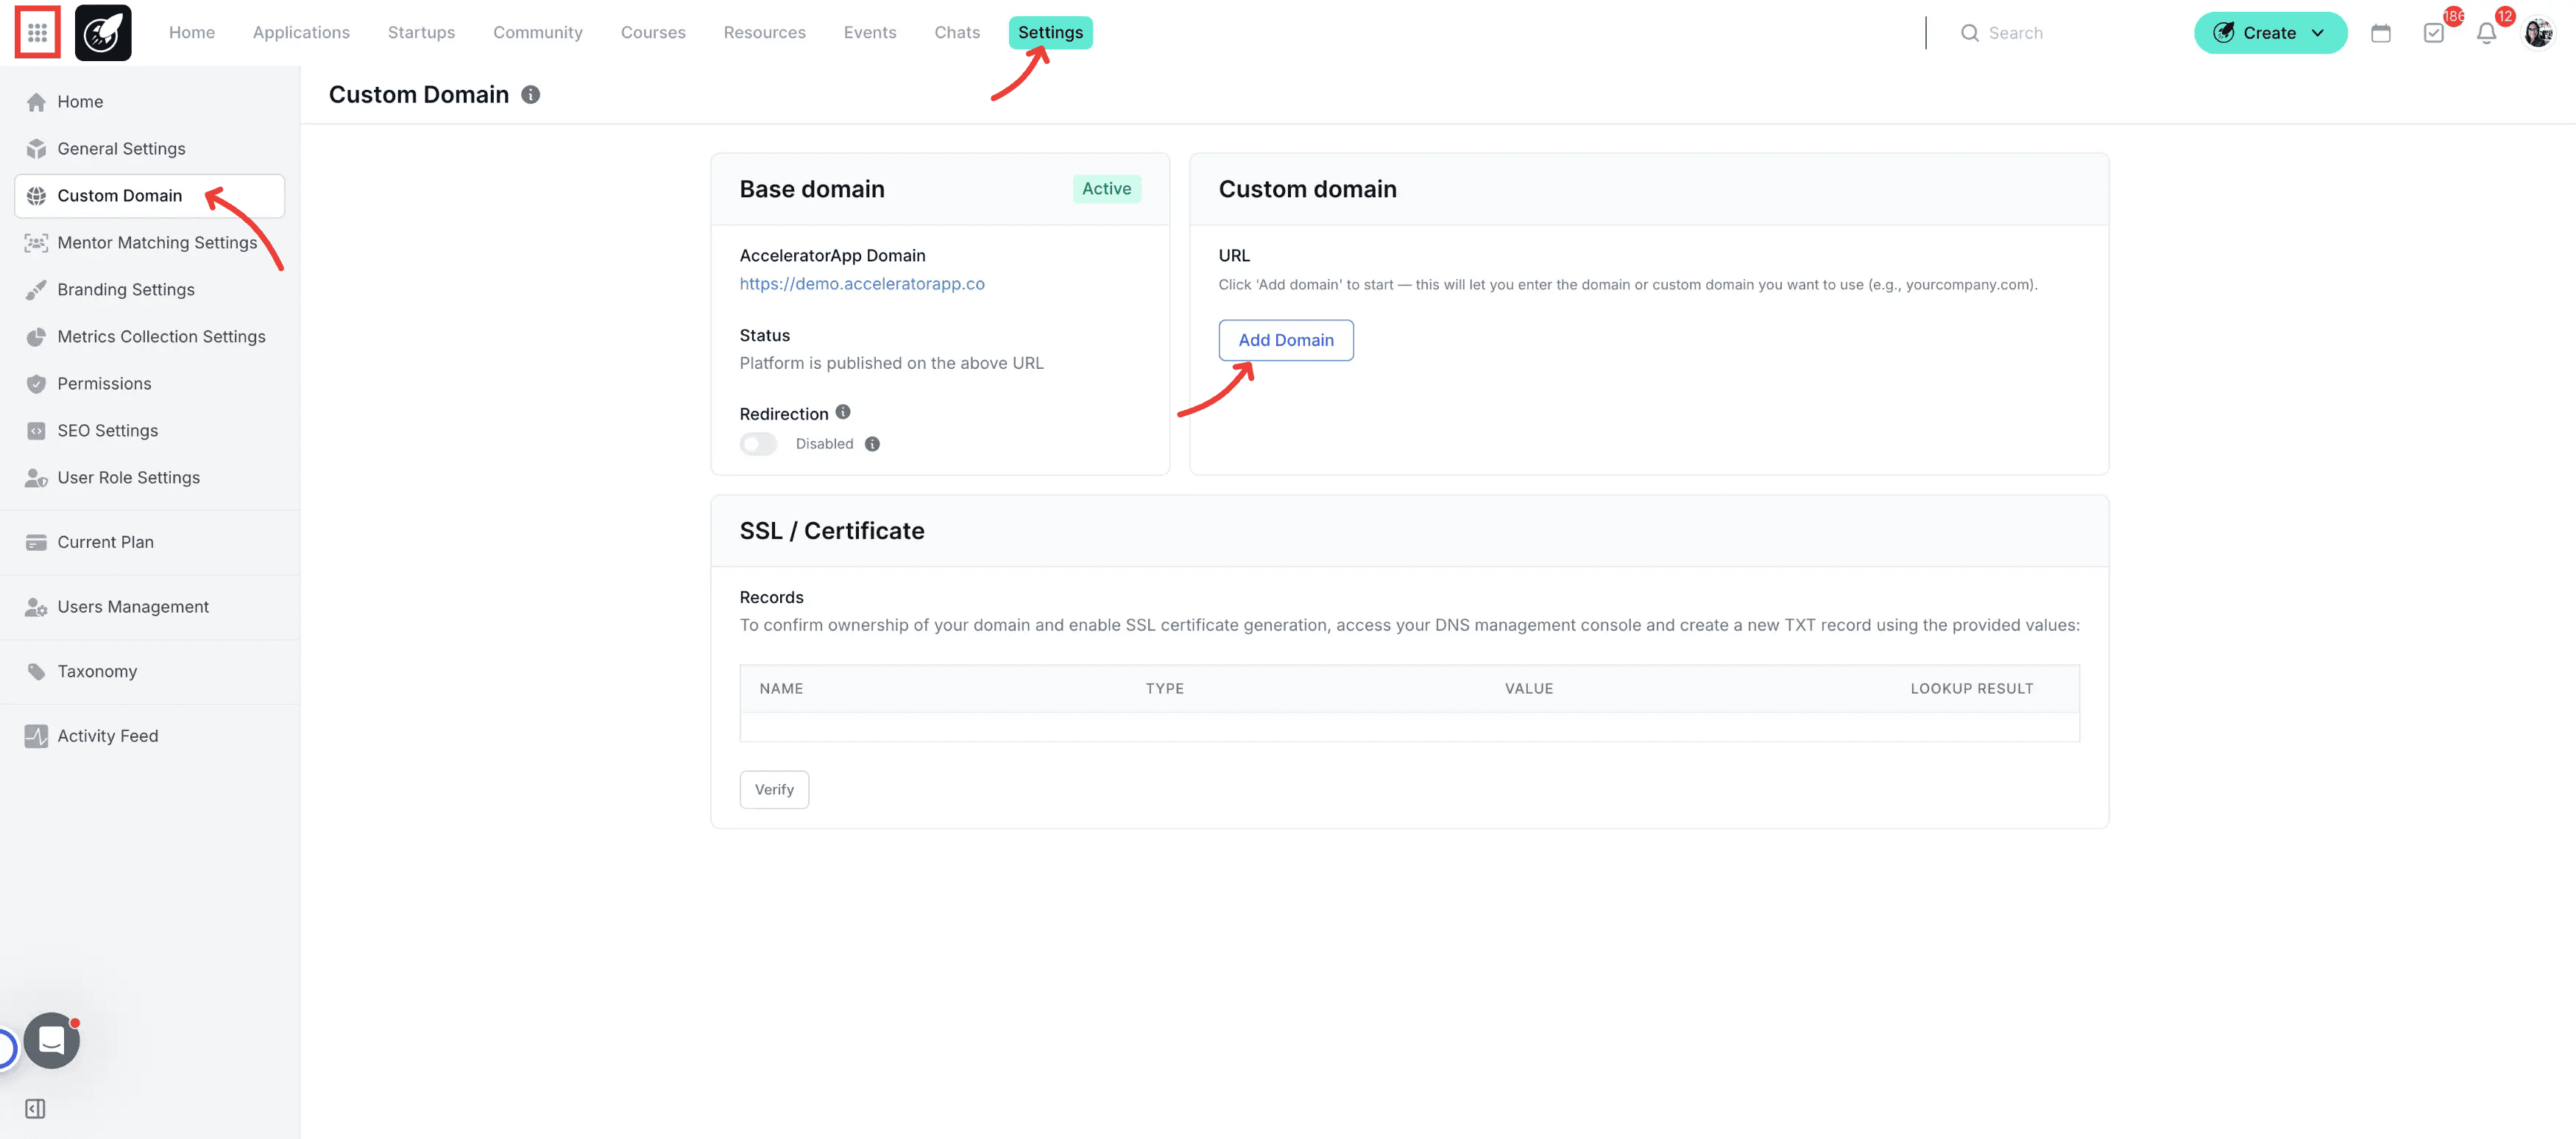
- Enter Details: Enter your Custom Domain and click on Add domain to generate the records for the verification
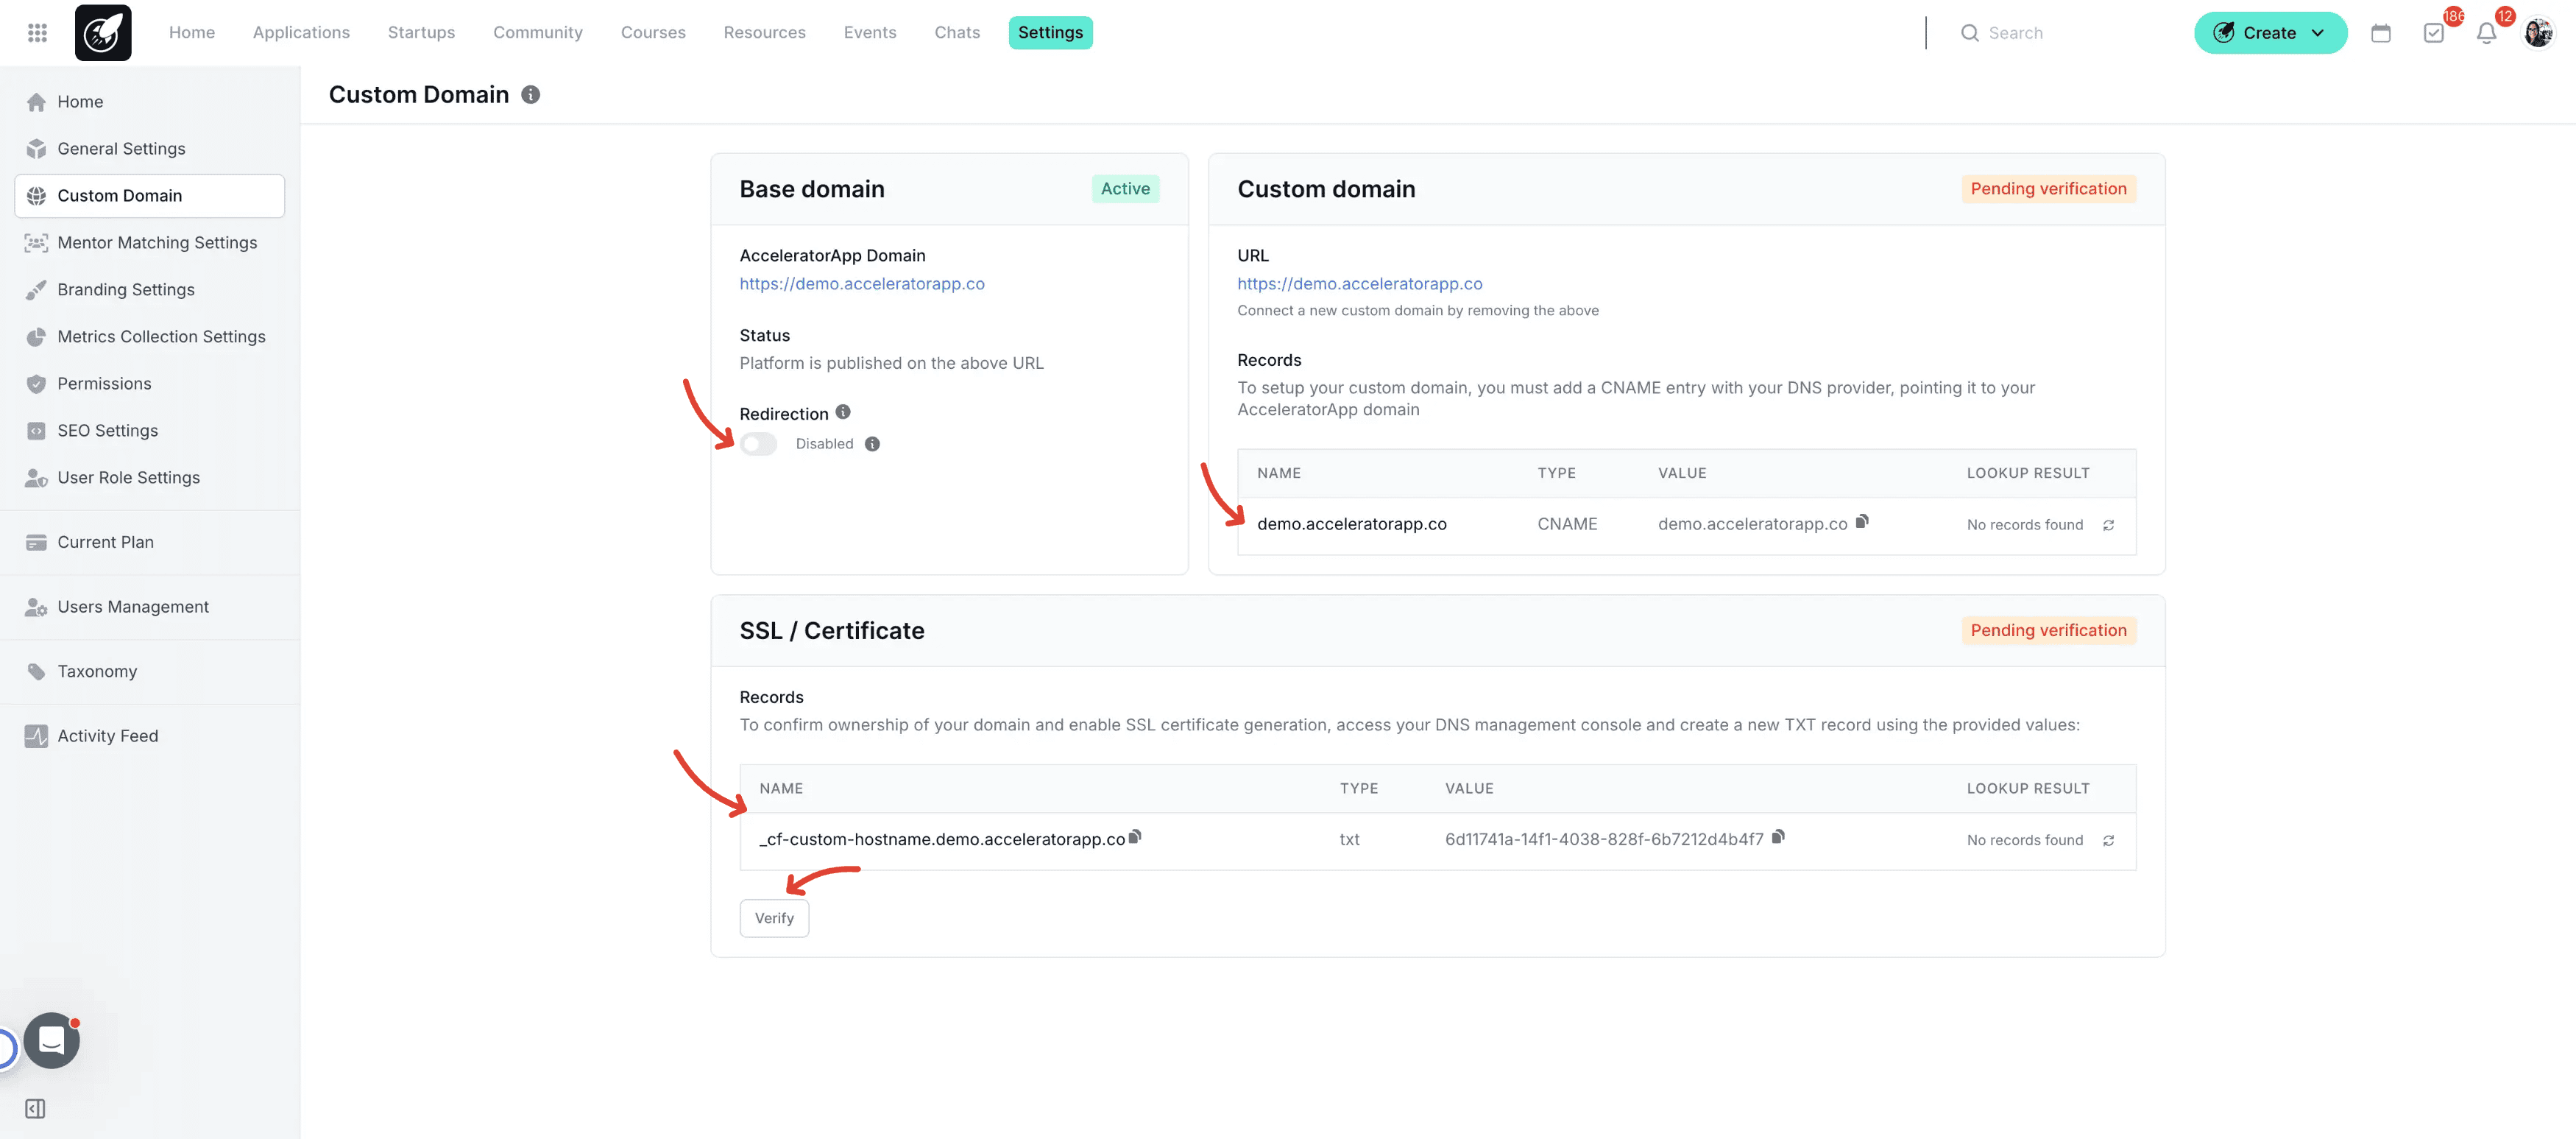
Validate: Follow the instructions of the system to confirm ownership of your domain and enable SSL certificate generation, access your DNS management console and create a new TXT record using the provided values:
Verify: Once you have added the corresponding records in your DNS Manager verify the process in AcceleratorApp by clicking the button "Verify"
Enable the Redirection: If everything is verified and active enable the redirection toggle
Best Practices
- Coordinate with IT: Changing a domain involves DNS records (CNAME). Ensure your technical team is ready to update your domain provider’s settings.
- Complete the Look: Once your domain is live, visit the Brand Settings to ensure your logos and colors match the new professional URL.