Introduction to Saved Views for Applications
Custom views allow you to control what information is displayed in the Applications, Startups, and Community tabs. Instead of scrolling through all available data every time, you can build views tailored to specific questions or workflows — and save them for quick access later.
Where to Find Views
Views can be created from the Applications, Startups, and Community tabs. The steps below use Applications as an example, but the process is the same across all three.
Step-by-Step
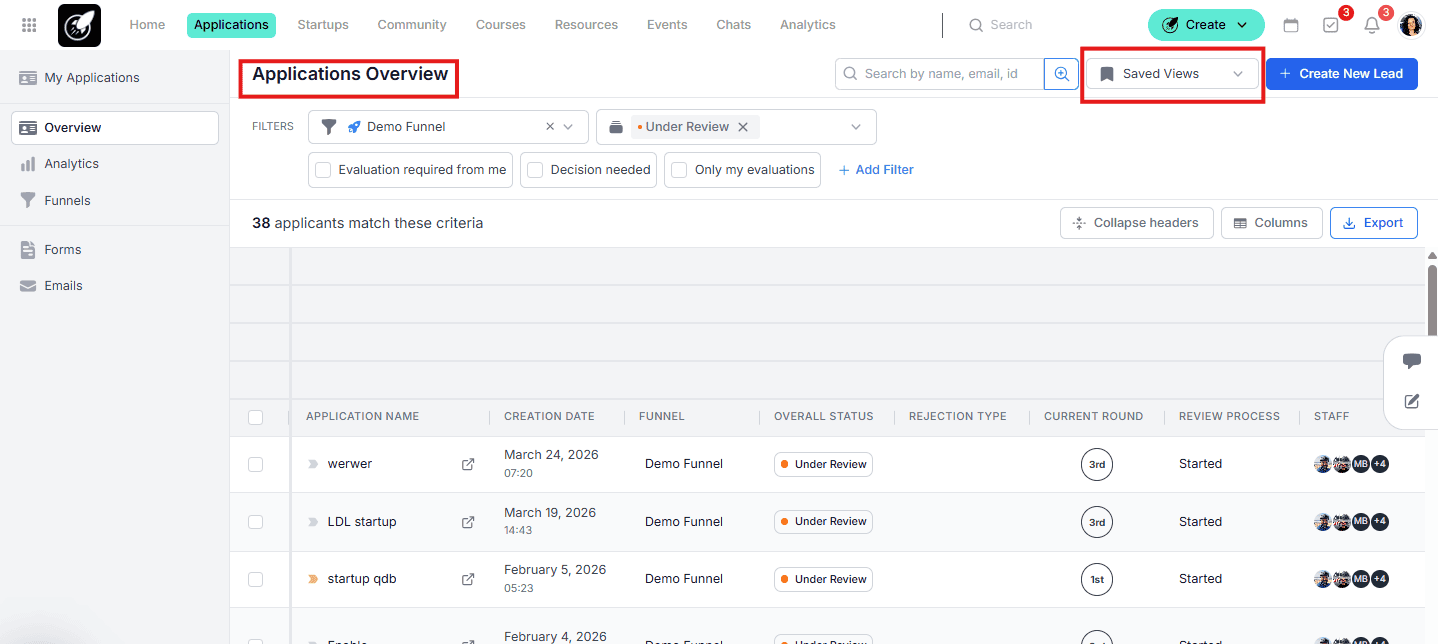
1. Applications Overview
From the Home page or the top menu, click on Applications to open the Applications Overview page.
2. Columns Selector
In the Applications Overview, click on Columns to open the column configuration panel, select and arrange your Columns. Toggle the fields you want to include in your view. Only the selected columns will be visible in the table. You can also reorder columns by dragging them into the sequence that works best for your workflow.
3. Apply Your Filters
Before saving, apply the filters that define which applications should be included in this view. You can combine any of the available filters:
- Funnel — narrow down to a specific application funnel.
- Status — filter by round, accepted, rejected, under review, and more.
- Tags — filter by application or user tags.
- Dates — filter by application creation date, submission date, or user creation date.
- Any other available filters such as decision needed, evaluation required, or custom fields.
The saved view will remember all active filters, so the next time you open it, everything will already be set.
4. Save the View
Once your columns are configured, click Saved Views and then Save Current View.
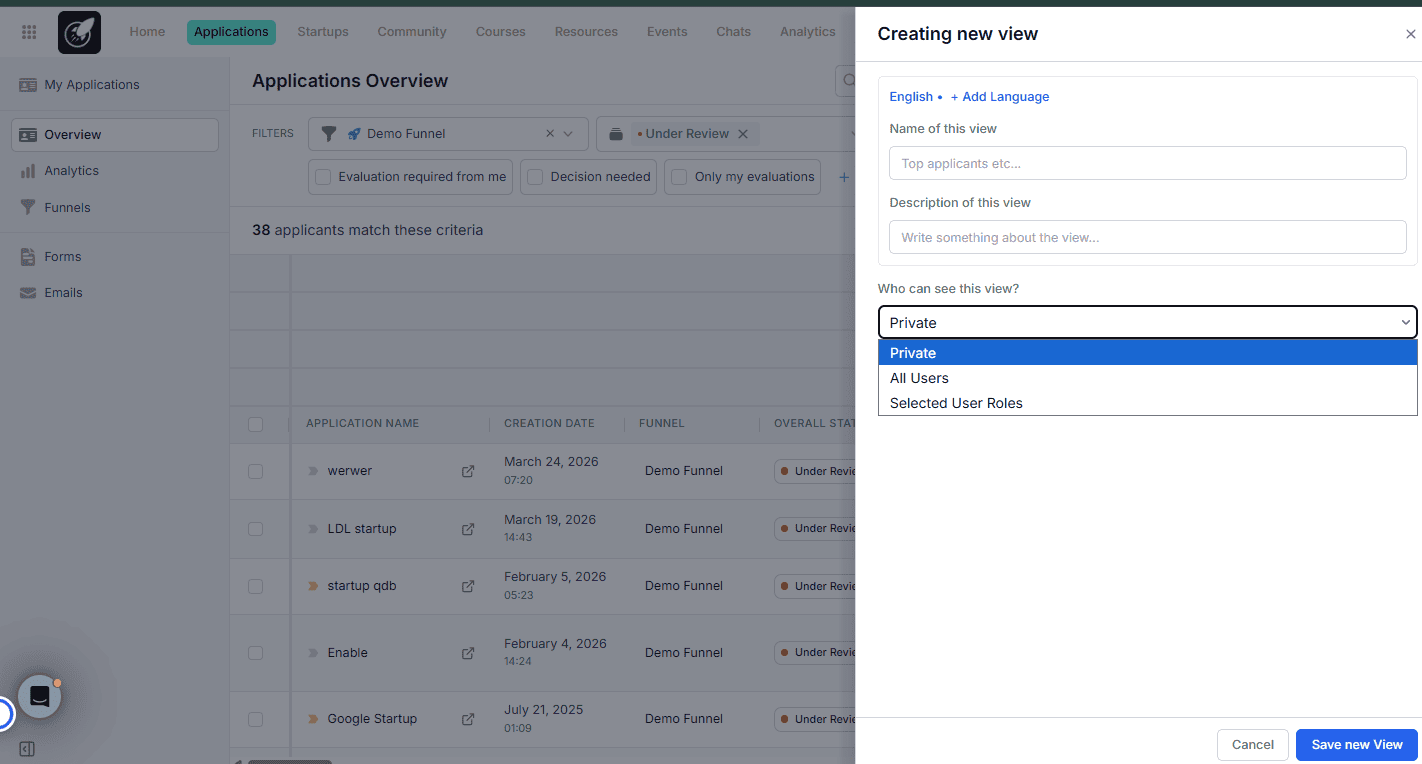
5. Name and Configure the View
Add a name and description, then set who can see this view — keep it private, share with all users, or restrict to specific roles. Once done, click Save New View.
Best Practices
- Name views clearly so teammates immediately understand their purpose — "Round 2 — Pending Decisions" is more useful than "View 3."
- Think about what needs to be visible at a glance. A view built for evaluators will look very different from one built for admins making final decisions.
- Use view permissions intentionally. If a view contains sensitive evaluation data, restrict access to the relevant roles only.